
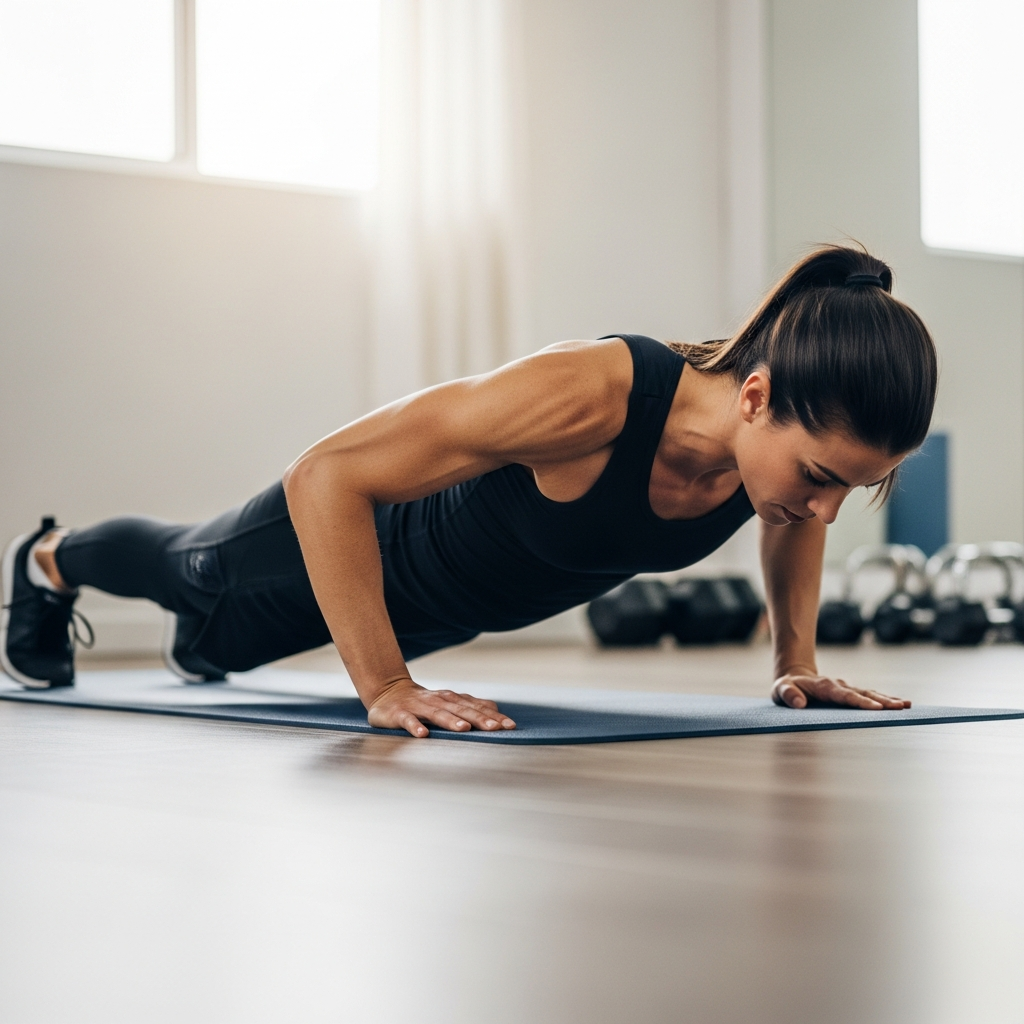
The humble push-up is a true fitness powerhouse, a timeless exercise that has stood the test of time for good reason. It’s simple, effective, and requires absolutely no equipment, making it accessible to almost everyone, everywhere. Whether you’re just starting your fitness journey or looking to challenge seasoned strength, the push-up offers something for you.
This guide will walk you through everything you need to know to master the push-up. We’ll cover the essential rules of proper form, explore a range of variations to suit all fitness levels, and pinpoint common mistakes so you can fix them and get the most out of every single rep. Get ready to build real-world strength, improve your posture, and boost your overall fitness from the ground up.
Why Push-Ups Are a Powerhouse Exercise

Don’t let the simplicity of the push-up fool you. This compound exercise engages multiple muscle groups at once, offering incredible benefits for your entire body. It’s more than just an arm exercise; it’s a full-body strength builder.
Comprehensive Muscle Engagement
Push-ups primarily target your chest (pectorals), shoulders (deltoids), and the back of your arms (triceps). But the benefits don’t stop there. To maintain proper form, your core muscles, including your abs and lower back, work hard to keep your body stable and straight. Your glutes and legs also play a role in maintaining that rigid plank position.
Functional Strength for Everyday Life
The strength you build with push-ups translates directly into daily activities. You’ll find it easier to push heavy doors, lift objects, and even carry groceries. This kind of functional strength helps make everyday tasks feel less strenuous.
Builds Core Stability
Maintaining a straight line from head to heels throughout the movement heavily relies on a strong and engaged core. Regularly doing push-ups helps to strengthen these vital muscles, which can improve posture and reduce the risk of lower back pain.
Accessible and Convenient
Perhaps one of the biggest advantages is convenience. You can do push-ups anywhere, anytime – at home, in a hotel room, or at the park. There’s no need for gym memberships or fancy equipment, making it easier to stick to a consistent fitness routine.
Before You Start: Preparing Your Body
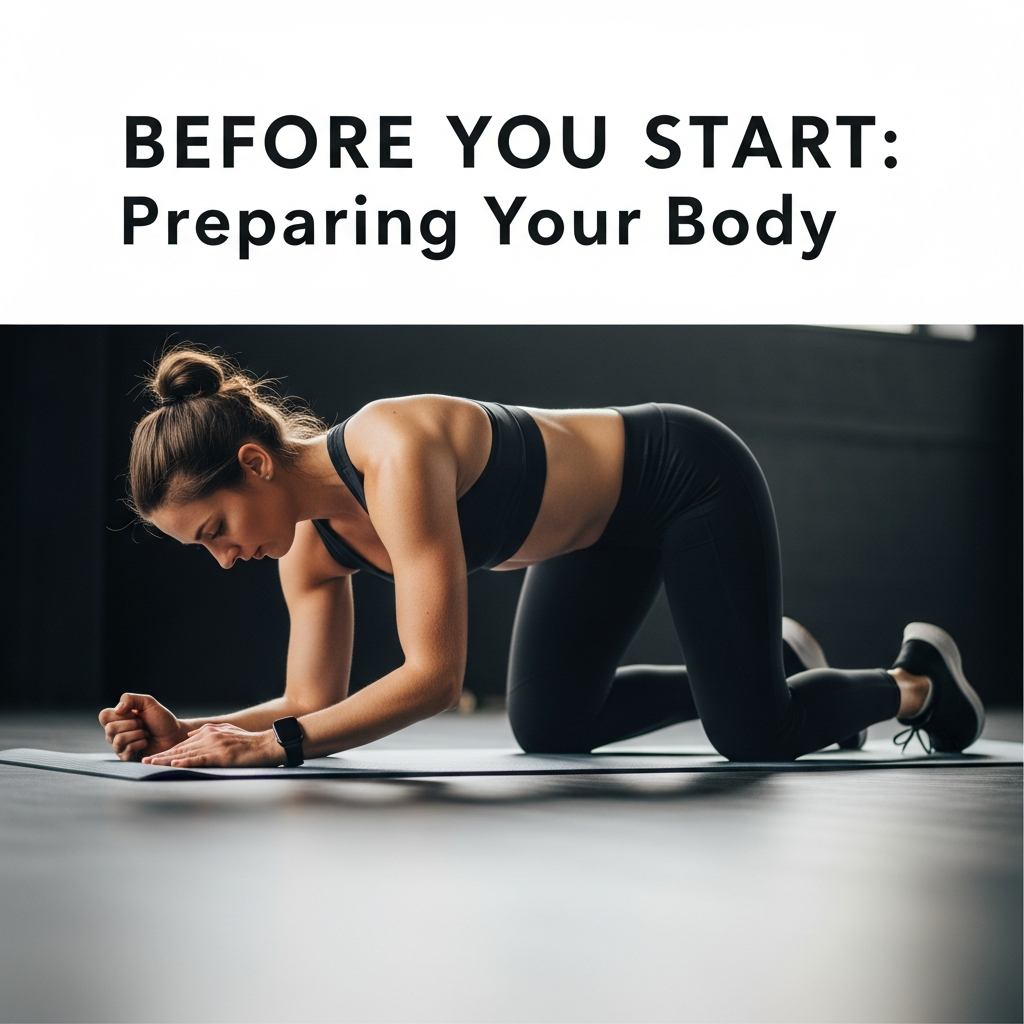
Jumping straight into any exercise without a warm-up is a recipe for potential injury and poor performance. Taking a few minutes to prepare your body makes a huge difference.
The Importance of a Warm-Up
A proper warm-up increases blood flow to your muscles, raises your core body temperature, and improves flexibility. This prepares your joints and muscles for the work ahead, reducing stiffness and the risk of strains or sprains.
Quick Warm-Up Routine
Spend about 5-10 minutes with light movements.
* Arm Circles: Forward and backward, starting small and gradually increasing the size.
* Shoulder Rolls: Up, back, and down.
* Torso Twists: Gently twist your upper body side to side.
* Cat-Cow Stretch: On hands and knees, arch and round your back to warm up your spine.
* Light Cardio: A minute or two of marching in place or jumping jacks to get your heart rate up.
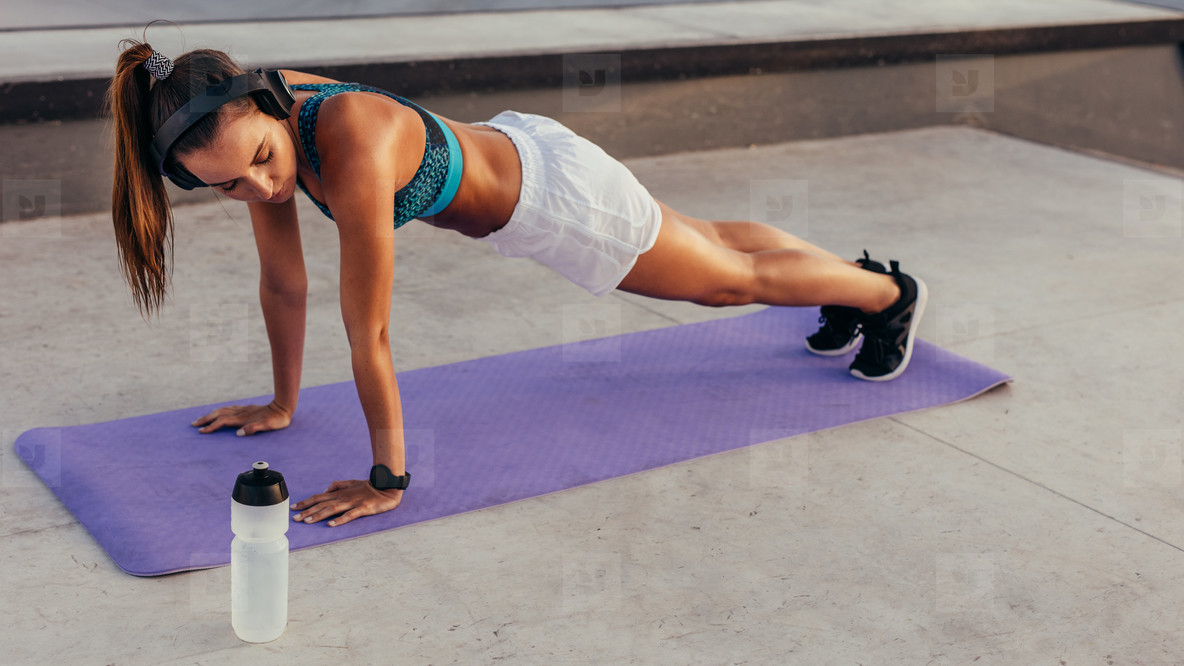
Mastering the Standard Push-Up: Step-by-Step Proper Form
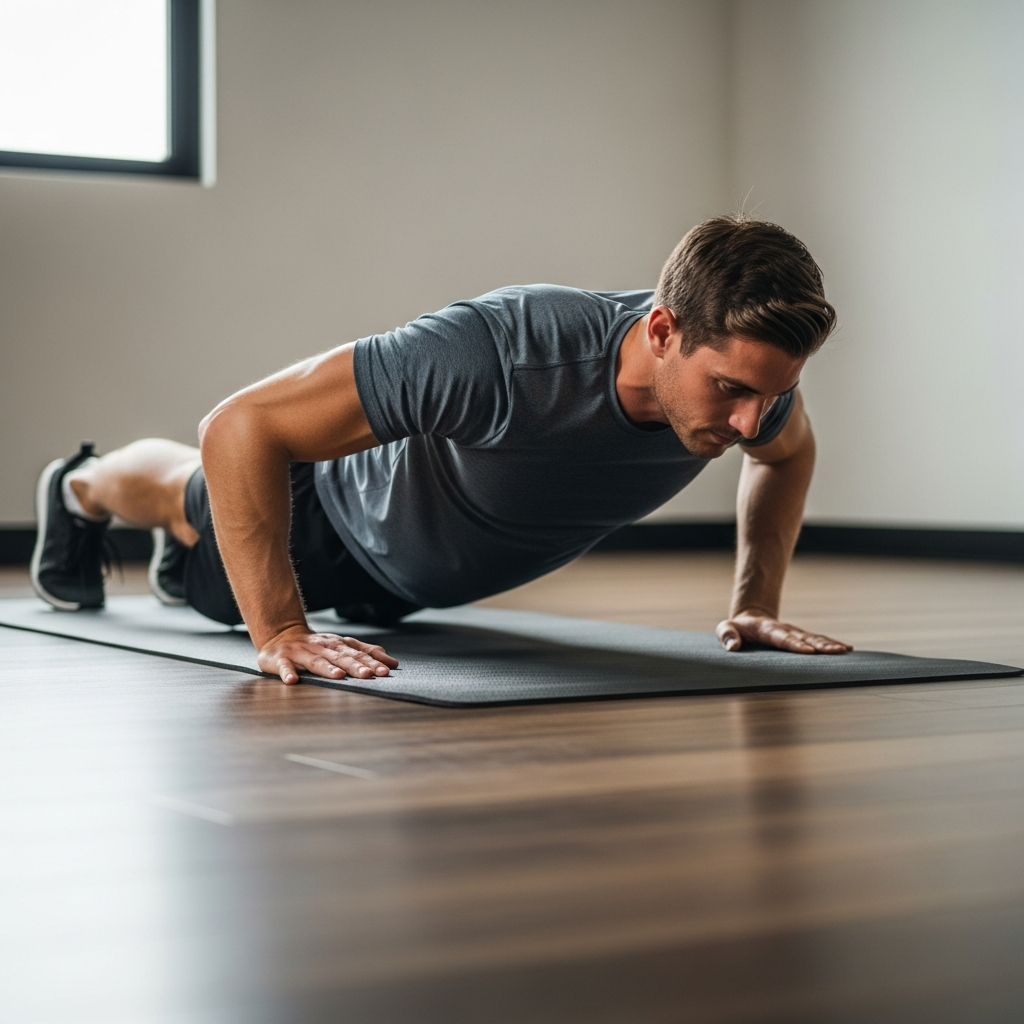
The standard push-up is the foundation for all other variations. Getting the form right is crucial for effectiveness and safety. Take your time with these steps.
The Starting Position
Hand Placement
Place your hands on the floor slightly wider than your shoulders. Your fingers should point forward, and your wrists should be directly under your shoulders when you’re in the plank position. Imagine your hands are rooted to the ground.
Body Alignment
Extend your legs straight back, balancing on the balls of your feet. Your body should form a perfectly straight line from the top of your head all the way down to your heels. Avoid letting your hips sag or pushing your butt too high.
Core Engagement
This is key. Brace your core as if you’re about to be punched in the stomach. Squeeze your glutes tightly. This locks your body into that straight plank position and prevents your lower back from arching or rounding.
Head and Neck
Keep your head in a neutral position, in line with your spine. Your gaze should be directed slightly forward on the floor, about a foot in front of your hands. Avoid letting your head drop or craning your neck upwards.
The Descent
Controlled Movement Down
Slowly bend your elbows, lowering your chest towards the floor. Think about controlling the movement, rather than just dropping. Aim for a count of two or three seconds on the way down.
Elbow Position
As you descend, your elbows should tuck in slightly towards your body, forming an “arrow” shape with your torso, rather than flaring out straight to the sides. This protects your shoulders and better engages your chest and triceps.
Depth
Continue lowering until your chest is an inch or two from the floor, or until your upper arms are parallel to the floor. Your body should maintain that straight line throughout the entire descent.
Breathing
Inhale as you lower your body down.
The Ascent
Push Through Your Palms
Once you reach the bottom, forcefully push through the palms of your hands and the base of your fingers to push your body back up. Imagine pushing the floor away from you.
Engage Chest and Triceps
Focus on engaging your chest and triceps to power the movement. Your core should remain tight and engaged, keeping your body straight.
Return to Starting Position
Push up until your arms are fully extended, returning to the plank position you started in. Lock out your elbows gently; avoid hyperextending them.
Breathing
Exhale as you push your body back up to the starting position.
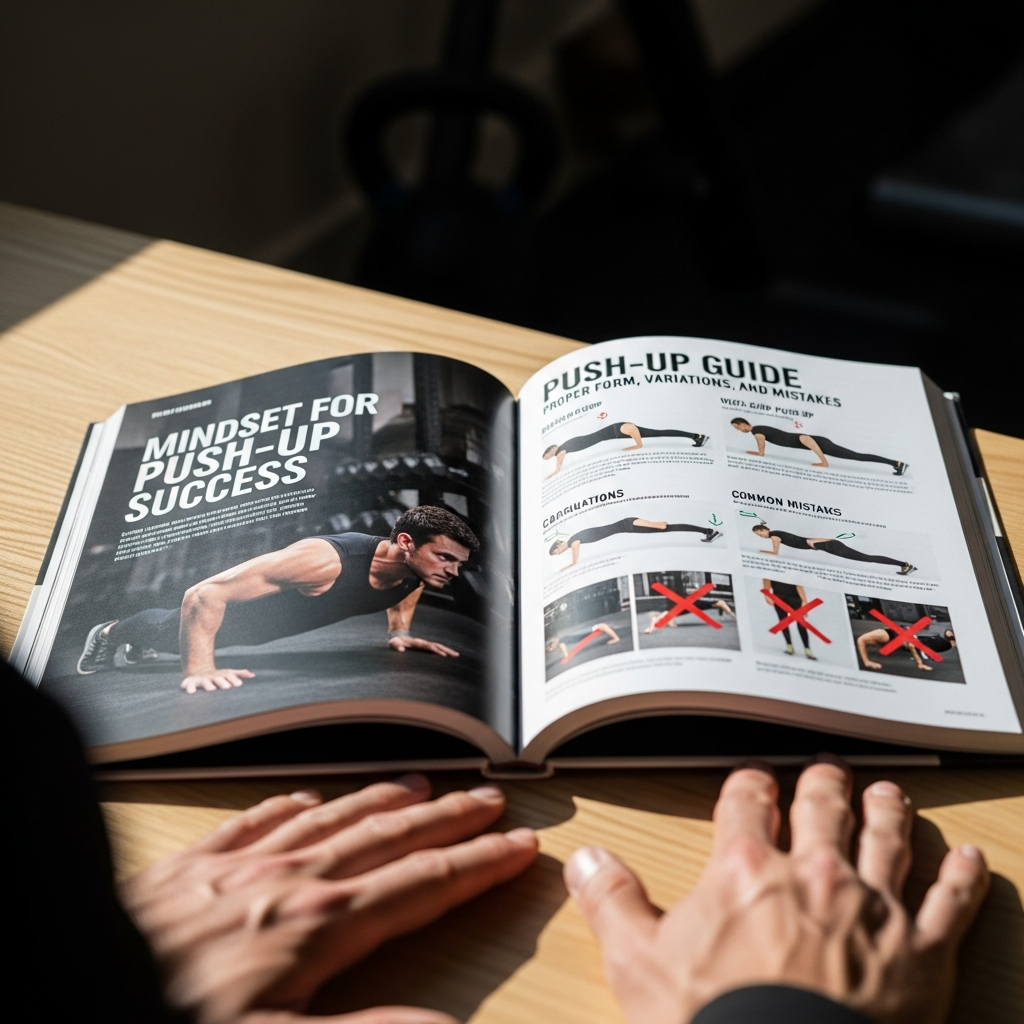
Common Push-Up Mistakes and How to Fix Them
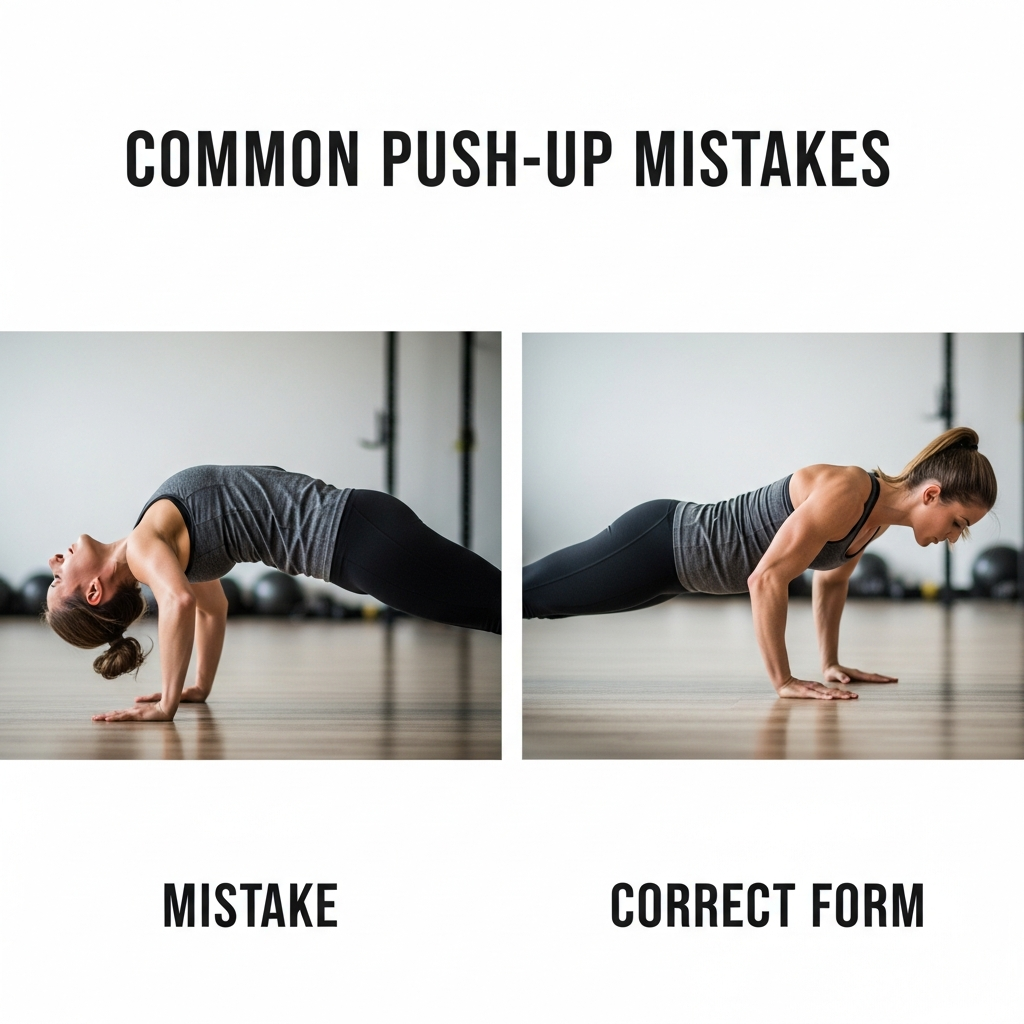
Even experienced lifters can fall into bad habits. Being aware of these common mistakes will help you refine your form and avoid potential injuries.
Mistake 1: Sagging Hips or Arched Lower Back
When your hips drop towards the floor, your lower back takes a lot of strain, and your core is no longer effectively engaged. This can lead to discomfort or injury.
* Fix: Consciously squeeze your glutes and tighten your abdominal muscles as if bracing for a punch. Imagine a straight, rigid plank from head to heels. If this is too challenging, try an incline or knee push-up until your core strength improves.
Mistake 2: Butt Too High
If your butt is poked up in the air, you’re shifting the workload away from your chest, shoulders, and triceps, turning the push-up into more of a modified downward dog.
* Fix: Re-engage your core and glutes to pull your hips down in line with your shoulders and heels. Focus on maintaining that straight body line throughout the entire movement.
Mistake 3: Elbows Flaring Out
Pushing with your elbows pointing directly out to the sides puts excessive stress on your shoulder joints. It also reduces the effectiveness of the exercise on your chest and triceps.
* Fix: Tuck your elbows closer to your body as you descend, aiming for about a 45-degree angle to your torso. Visualize making an “arrow” shape with your body, not a “T” shape.
Mistake 4: Partial Range of Motion
Only going halfway down or not fully extending at the top means you’re not getting the full benefit of the exercise. You’re limiting muscle activation and strength gains.
* Fix: Commit to a full range of motion. Lower your chest until it’s an inch or two from the floor, and then push all the way up until your arms are straight. If you can’t do this, use an easier variation (like incline or knee push-ups) to build strength.
Mistake 5: Neck Drooping or Hyperextended
Letting your head drop or craning your neck upwards can cause neck strain and disrupt your spinal alignment.
* Fix: Keep your head in a neutral position, aligned with your spine. Your gaze should be on the floor slightly in front of your hands. Imagine holding a tennis ball between your chin and chest to help maintain this position.
Push-Up Variations for Every Level

The beauty of the push-up is its versatility. You can easily modify it to make it easier or harder, allowing for continuous progress.
For Beginners: Building Strength
If a standard push-up feels too challenging, start here to build foundational strength and perfect your form.
Wall Push-Ups
This is the easiest variation and a great starting point.
* How to do it: Stand facing a wall, about arm’s length away. Place your hands on the wall slightly wider than your shoulders. Lean into the wall, bending your elbows until your chest nearly touches it. Push back to the starting position.
* Benefits: Reduces the amount of body weight you have to push, allowing you to focus purely on form and muscle engagement.
Incline Push-Ups
Once wall push-ups feel too easy, move to an incline.
* How to do it: Place your hands on a sturdy elevated surface like a kitchen counter, a bench, or a sturdy chair. The higher the surface, the easier the push-up. Perform the push-up just like a standard one, maintaining a straight body line.
* Benefits: Gradually increases the load on your chest, shoulders, and triceps as you lower the incline.
Knee Push-Ups
This variation gets you closer to the floor with full body alignment, but with less strain.
* How to do it: Start on your hands and knees. Walk your hands forward until your body forms a straight line from your head to your knees. Your hips should not be piked up or sagging. Perform the push-up by lowering your chest to the floor and pushing back up.
* Benefits: Allows you to practice the full range of motion and proper body alignment closer to the ground, building strength for standard push-ups.
For Intermediate Lifters: Standard and Beyond
Once you can comfortably perform 10-12 knee push-ups with perfect form, it’s time to tackle the standard push-up and its direct variations.
Standard Push-Ups
As detailed above, this is the benchmark.
* **How to do it:** Full body in a straight plank, hands slightly wider than shoulders. Lower chest to the floor, push back up.
* **Benefits:** Builds overall upper body and core strength, improving functional fitness.
Wide-Hand Push-Ups
This variation places more emphasis on your chest muscles.
* How to it: Set up for a standard push-up, but place your hands significantly wider than shoulder-width apart. Perform the push-up, focusing on squeezing your chest at the top.
* Benefits: Increases activation of the pectoral muscles, contributing to a broader chest.
Narrow (Diamond) Push-Ups
This version challenges your triceps and inner chest more intensely.
* How to do it: Form a diamond shape with your hands by touching your thumbs and index fingers together directly under your chest. Keep your elbows tucked close to your body as you descend and ascend.
* Benefits: Excellent for developing triceps strength and targeting the inner chest.
For Advanced Athletes: Challenging Your Limits
Ready to push your strength, power, and stability to the next level? These variations are for you.
Decline Push-Ups
Elevating your feet increases the load and targets the upper chest more.
* How to do it: Place your feet on an elevated surface like a bench, chair, or stability ball. The higher your feet, the more challenging it will be. Perform the push-up, keeping your body in a straight line from head to heels.
* Benefits: Significantly increases the difficulty and places more emphasis on the upper pectoral muscles and anterior deltoids.
Plyometric (Clapping) Push-Ups
This variation adds an explosive element, building power.
* How to do it: Perform a standard push-up, but at the bottom, explode upwards with enough force to lift your hands off the floor. Clap your hands together mid-air before landing softly back on your palms.
* Benefits: Develops explosive power in the chest, shoulders, and triceps, improving athletic performance.
One-Arm Push-Ups
The ultimate test of unilateral strength and core stability.
* How to do it: Start in a wide stance with your feet, slightly wider than shoulder-width. Place one hand on the floor under your shoulder, and extend the other arm out to the side or behind your back. Lower your body, keeping your core extremely tight to prevent rotation, and push back up with one arm.
* Benefits: Builds incredible single-arm strength, core stability, and total body control. Requires significant strength and practice.
Integrating Push-Ups into Your Routine
Consistency is far more important than intensity when it comes to building strength and seeing results. Start small and build up gradually.
The Power of Consistency
Aim to incorporate push-ups into your routine 2-3 times a week, allowing a day of rest in between for muscle recovery. This consistent effort will yield better long-term results than sporadic, intense sessions.
Progression Strategies
* More Reps/Sets: Once a variation becomes easy, increase the number of repetitions you do per set, or add another set.
* Harder Variations: When you can comfortably do 12-15 reps of a particular variation with perfect form, it’s time to try the next, more challenging variation.
* Tempo Training: Slow down the eccentric (lowering) phase to 3-5 seconds, increasing time under tension.
* Shorten Rest Times: Gradually reduce the rest periods between your sets to improve endurance.
Rest and Recovery
Your muscles grow stronger during rest, not during the workout itself. Ensure you’re getting enough sleep and fueling your body with nutritious foods to support muscle repair and growth.
Sample Weekly Push-Up Plan
Here’s a simple plan to help you integrate push-ups into your week. Adjust the reps and sets based on your current strength level.
| Day | Focus | Sets x Reps (Example) | Notes |
| Day 1 | Standard Push-Ups | 3 x 8-12 | Use a variation (Incline, Knee) if standard is too hard. Focus on form. |
| Day 2 | Rest / Active Recovery | N/A | Go for a walk, do some light stretching, or practice yoga. |
| Day 3 | Variation Day | 3 x 6-10 | Choose a wide, narrow, or decline push-up. Focus on controlled movement. |
| Day 4 | Rest | N/A | Prioritize sleep and hydration. |
| Day 5 | Strength Endurance | 3-4 x Max Reps | Perform as many good quality reps as possible with good form. |
| Day 6 | Challenge / Skill Day | 1-2 x Attempt | Try a harder variation, or work on a weakness. Listen to your body. |
| Day 7 | Rest | N/A | Recharge completely and prepare for the next week of training. |
Mindset for Push-Up Success
Your mental approach is just as important as your physical effort. Cultivating the right mindset will help you stay on track and celebrate your progress.
Start Where You Are
Don’t compare your starting point to someone else’s middle or end. Everyone begins somewhere. Embrace your current level and be proud of showing up.
Celebrate Small Victories
Could you only do 2 knee push-ups last week and now you can do 3? That’s fantastic progress! Acknowledging these small wins builds momentum and motivation.
Patience and Persistence
Building strength takes time. There will be days you feel stronger and days you feel weaker. Stay patient, stay persistent, and trust the process. Consistency truly compounds over time.
Listen to Your Body
Pain is a signal to stop. Always prioritize good form over doing more reps. If something feels off, take a rest day or opt for an easier variation. Your body will thank you.