
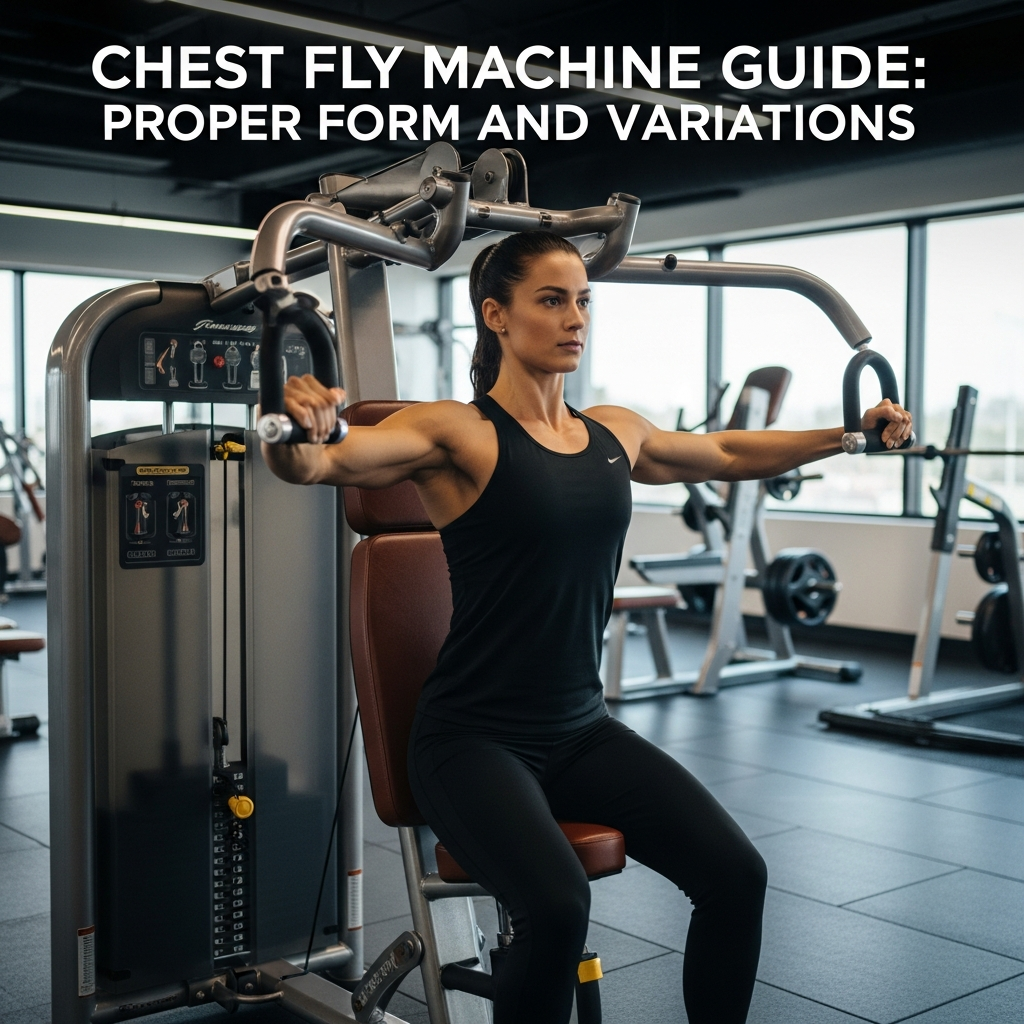
Building a strong, sculpted chest is a common fitness goal, not just for aesthetics but also for improving upper body strength and stability in everyday movements. While exercises like the bench press are fantastic for overall chest development, sometimes you need a way to really zero in on those chest muscles, giving them a deep stretch and a powerful squeeze. That’s where the chest fly machine comes in.
This machine offers a controlled environment to isolate your pectorals, helping you build muscle and strength with less risk of injury compared to some free weight exercises, especially for beginners. But like any exercise, getting the most out of it comes down to understanding proper form and technique. In this guide, we’ll walk you through everything you need to know about the chest fly machine, from setting it up to mastering the movement and exploring useful variations. Let’s unlock your chest-building potential together.
Understanding Your Chest Muscles
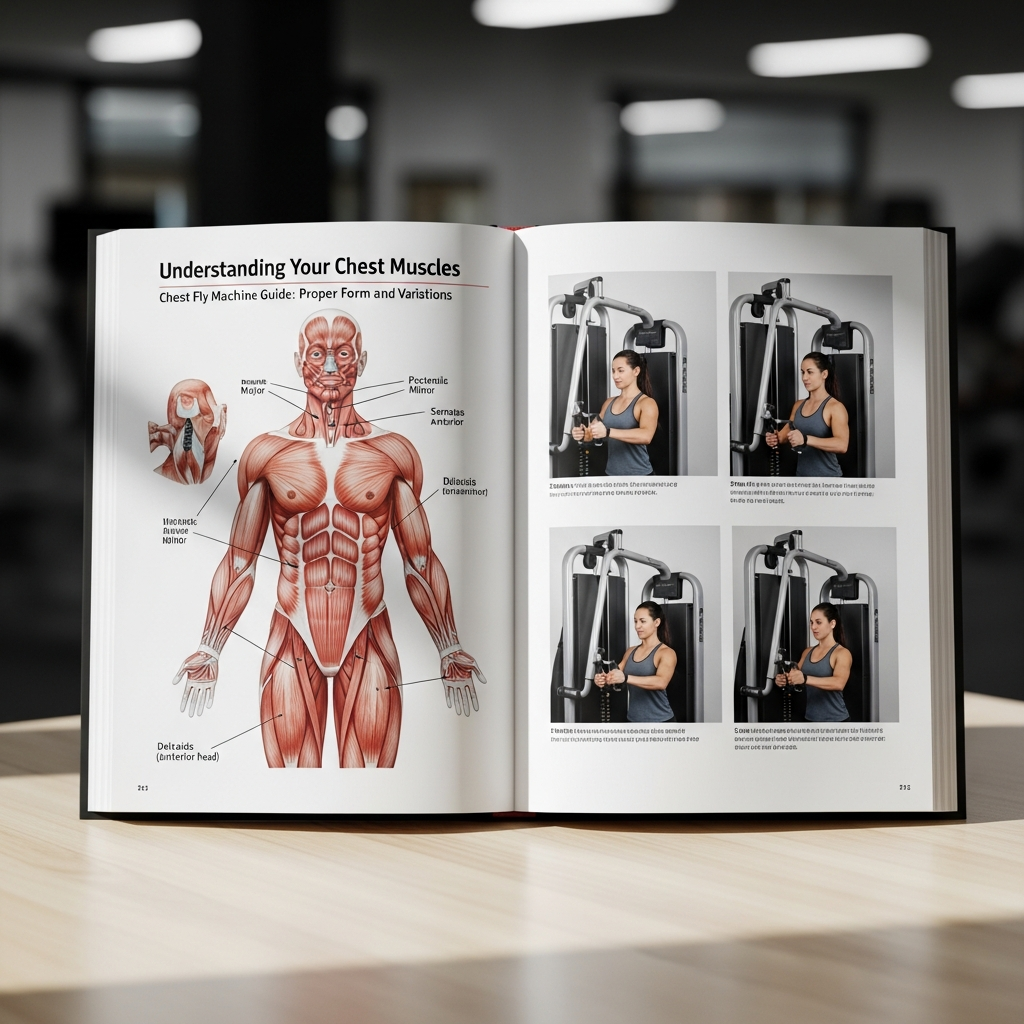
Before we dive into the machine itself, it’s helpful to know what muscles you’re actually working. Your chest is primarily made up of two major muscles: the pectoralis major and the pectoralis minor.
The pectoralis major is the larger, fan-shaped muscle that covers most of your chest wall. It’s responsible for bringing your arm across your body, rotating it, and extending it from a flexed position. The chest fly movement specifically targets the pecs by moving your arms horizontally across your body, emphasizing the stretch at the start and a strong contraction at the end.
The pectoralis minor is a smaller, triangular muscle located underneath the pectoralis major. It helps stabilize your shoulder blade. While fly movements mostly hit the larger pectoralis major, a stable shoulder girdle is essential for good form and effectiveness. By focusing on isolating these muscles, you can create a stronger mind-muscle connection, leading to better growth over time.
Setting Up for Success: Your Chest Fly Machine
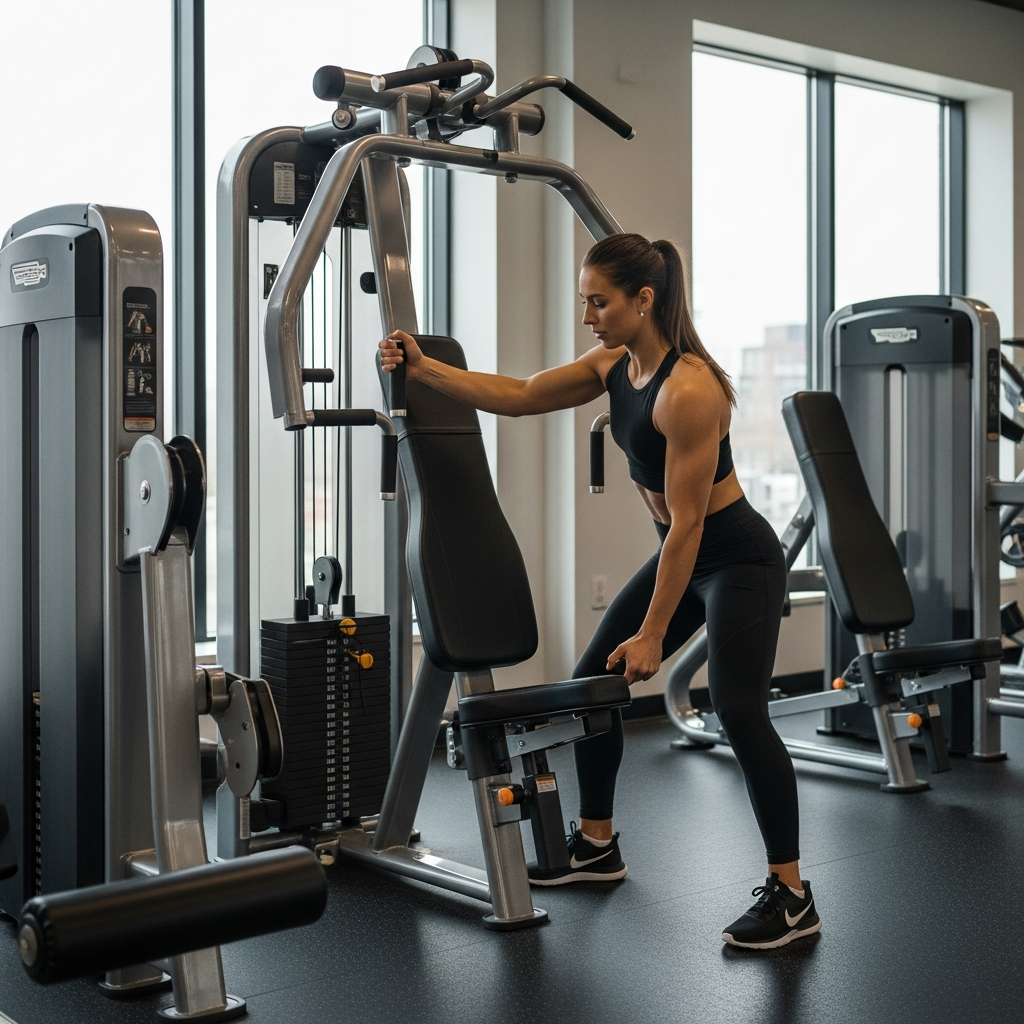
Getting started right at the chest fly machine means taking a moment to adjust it for your body. A proper setup ensures you target the right muscles and move safely.
Adjusting the Seat Height
The first thing to do is set the seat height. When you sit down, your shoulders and elbows should be roughly in line with the handles, or just slightly below. If the seat is too high, your shoulders might take over, causing strain. If it’s too low, you won’t get a full range of motion. Think about creating a straight line from your shoulder through your elbow to the handles.
Choosing the Right Weight
This is where many people go wrong. It’s tempting to pile on the plates, but with chest flies, less is often more. Start with a light to moderate weight that allows you to complete 10-15 repetitions with good control. You should feel your chest working, not just your arms or shoulders straining. Focus on feeling the muscle contract and stretch, rather than simply moving the weight from point A to point B.
Hand Placement and Grip
Sit firmly against the back pad with your feet flat on the floor. Grasp the handles with a firm but relaxed grip. Your elbows should have a soft, slight bend that you maintain throughout the entire movement. Avoid locking your elbows straight or bending them too much, as this changes the exercise into more of a pressing movement. The handles should feel natural in your hands, allowing your forearms to be mostly parallel to the floor at the starting position.
Understanding the Range of Motion
A full range of motion is key for effective chest flies. At the starting position, your arms should be extended out to the sides, feeling a good stretch across your chest. This stretch is crucial for muscle development. As you bring the handles together, aim for them to meet (or almost meet) in front of your chest. This ensures a complete contraction of your pectoral muscles. Avoid short, choppy movements; make each rep count.
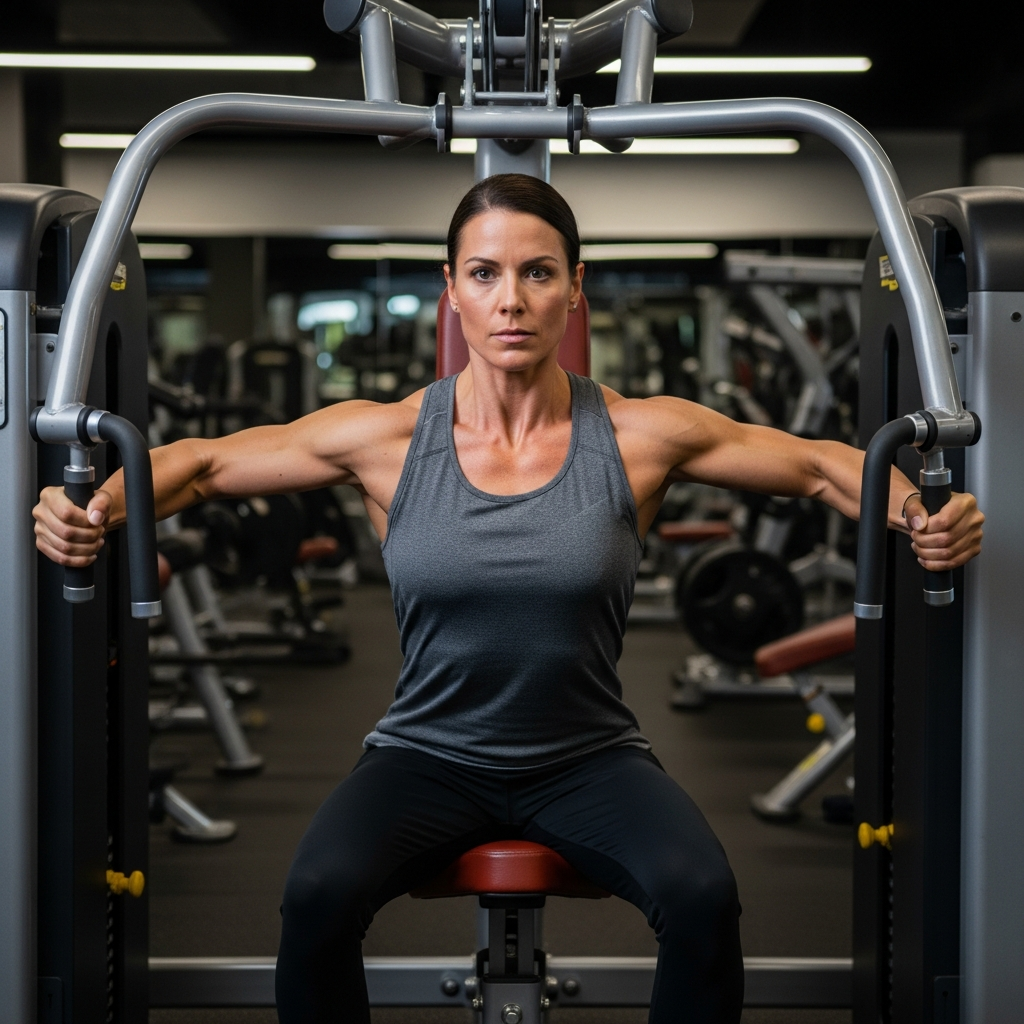
Mastering Proper Form for the Chest Fly Machine
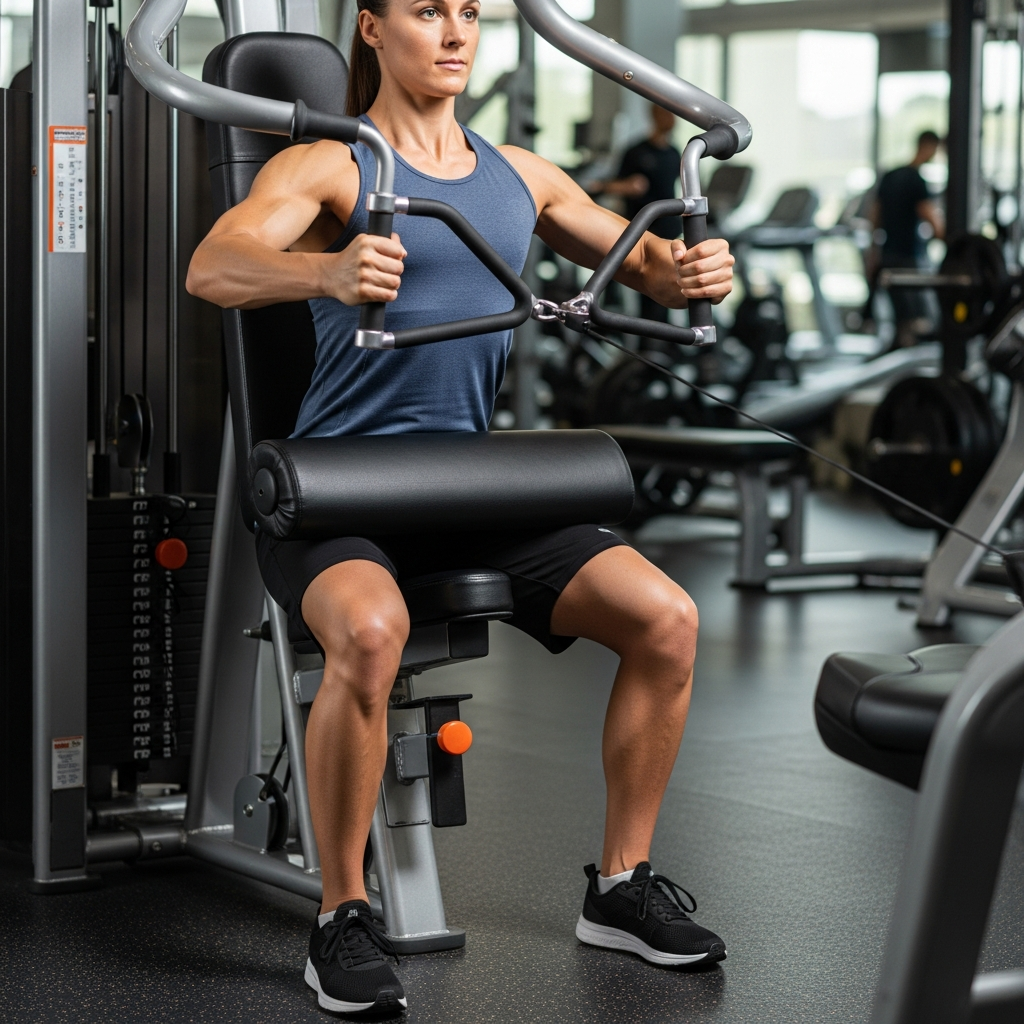
Now that you’re set up, let’s break down the actual movement. Remember, quality over quantity is always the rule here.
Step-by-Step Execution
Each phase of the chest fly is important for maximizing muscle engagement and preventing injury.
Starting Position
* Sit down on the machine with your back pressed firmly against the back pad. This stability prevents your lower back from arching.
* Place your feet flat on the floor, about shoulder-width apart, providing a strong base.
* Grasp the handles with your elbows slightly bent. Your upper arms should be roughly parallel to the floor, or angled slightly downwards, creating that initial stretch across your chest.
The Concentric Phase (Squeeze)
* From the starting position, smoothly bring the handles together in front of your chest.
* As you move, focus intently on squeezing your chest muscles. Imagine trying to hug a giant tree.
* Maintain that slight bend in your elbows throughout the movement. Your hands should meet at around chest height, just in front of you. This phase should be controlled, not rushed.
The Eccentric Phase (Stretch)
* Slowly and with control, reverse the movement, allowing your arms to return to the starting position.
* As your arms move apart, you should feel a deep, controlled stretch in your chest. Don’t let the weight just pull your arms back; resist it.
* Stop when you feel a good stretch but before the weight stack touches down completely, which helps keep tension on the muscles.
Breathing Technique
Breathing correctly helps support your movement and oxygenates your muscles.
* Exhale as you bring the handles together (the squeezing phase).
* Inhale as you slowly return to the starting position (the stretching phase).
Common Mistakes to Avoid
Being aware of these pitfalls will help you get the most out of your chest flies and keep you safe.
* Using too much weight: This often leads to using momentum or other muscles (like your shoulders or triceps) rather than isolating the chest. If your form breaks down, lighten the load.
* Locking elbows: Keeping your elbows rigid puts unnecessary stress on your elbow joints and can shift the focus away from the chest. Maintain a soft bend.
* Arching your back: If your back lifts off the pad, it often means the weight is too heavy, and you’re trying to recruit your lower back for help. Keep your back firmly against the pad.
* Rushing the movement: Both the squeeze and the stretch phases should be slow and controlled. Rushing means you lose out on muscle tension and increase injury risk.
* Letting shoulders do the work: If you feel the exercise primarily in your shoulders, your form might be off, or the weight is too heavy. Ensure your shoulders stay down and back, not hunched forward.
Variations to Keep Your Routine Fresh
While the chest fly machine is excellent, incorporating variations can challenge your muscles in new ways and keep your workouts exciting.
Cable Crossover Flies (Standing)
This variation uses a cable machine and allows for more freedom of movement. You stand between two high pulleys, grasp the handles, and bring them together in front of your body, mimicking the machine fly motion. It’s great for engaging your core and providing constant tension throughout the movement.
Dumbbell Chest Flies (Flat Bench)
For a free-weight option, lying on a flat bench with dumbbells challenges your stability more. Start with dumbbells above your chest, palms facing each other, with a slight bend in your elbows. Slowly lower the dumbbells out to the sides, feeling the stretch, then bring them back up by squeezing your chest. This version requires more control.
Incline Dumbbell Flies
To specifically target the upper part of your chest (the clavicular head of the pectoralis major), perform dumbbell flies on an incline bench. The setup is similar to the flat bench version, but the angle places more emphasis on the upper chest fibers. This helps create a fuller, more balanced chest development.
Single-Arm Machine Fly
Using the chest fly machine for a single arm at a time allows for unilateral training. This can help correct muscle imbalances, improve focus on each side, and deepen the mind-muscle connection. Simply grasp one handle and perform the fly movement, keeping your core tight to prevent your body from rotating. Remember to perform an equal number of reps on both sides.
Integrating the Chest Fly into Your Workout Routine
Knowing how to perform the chest fly is one thing; fitting it effectively into your workout is another. Here’s how you can make it a valuable part of your fitness journey.
As a Warm-up (Light Weight)
Before diving into heavy compound movements like the bench press, a couple of light sets on the chest fly machine can serve as an excellent warm-up. It activates the chest muscles, gets blood flowing, and prepares your connective tissues without causing fatigue. Focus on form and the mind-muscle connection.
As an Isolation Movement
The chest fly machine truly shines as an isolation exercise. It allows you to fatigue the chest muscles after compound movements have done their main work. This can be particularly useful for muscle growth, as it ensures your chest gets ample stimulation even if your triceps or shoulders are tired from pressing.
Sample Chest Workout Routine
Here’s an example of how you might integrate the chest fly machine into a comprehensive chest workout. This is just a template, feel free to adjust sets, reps, and exercises based on your fitness level and goals.
| Exercise | Sets | Reps | Notes |
| Push-ups | 2 | To failure | Warm-up, bodyweight to activate chest |
| Barbell Bench Press | 3-4 | 6-10 | Main compound lift, heavy weight |
| Incline Dumbbell Press | 3 | 8-12 | Targets upper chest, moderate weight |
| Chest Fly Machine | 3 | 10-15 | Isolation, focus on squeeze and stretch |
| Cable Crossover | 2-3 | 12-15 | Another isolation, different angle/tension |
Frequency and Volume
For most individuals aiming for muscle growth, performing chest exercises 2-3 times per week is a good starting point. On each of those days, you might include 2-4 sets of chest flies, aiming for 10-15 repetitions per set. Listen to your body and adjust the volume as needed. If you’re very sore, take an extra rest day or reduce the volume. Progressive overload (gradually increasing weight, reps, or sets over time) is key for continued progress.
Mindset and Consistency for Lasting Results
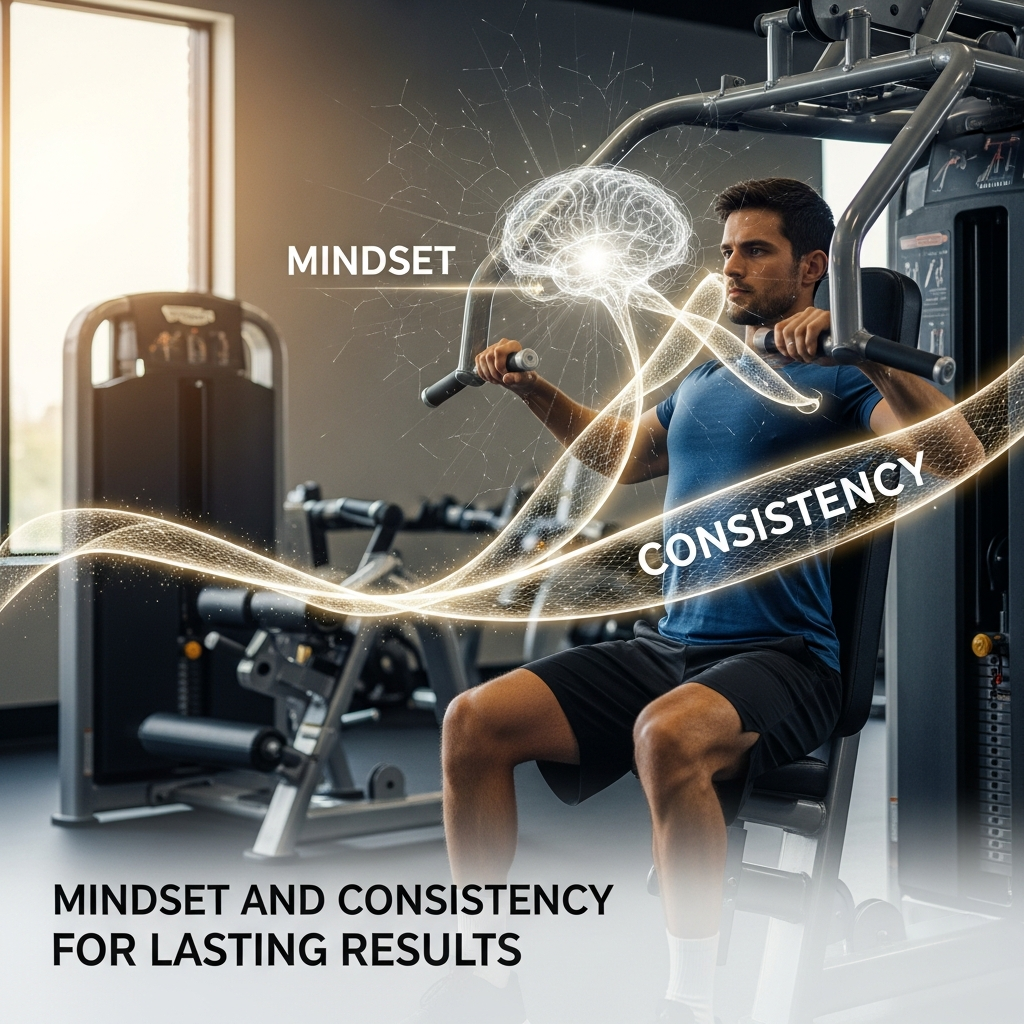
Getting stronger and building the physique you desire isn’t just about what you do in the gym; it’s also about your mental approach and your commitment to the process.
Listen to Your Body
Your body gives you signals. If something feels like sharp pain, stop immediately. Distinguish between muscle fatigue and injury pain. Rest and recovery are just as crucial as the workout itself. Pushing through exhaustion or injury can set back your progress significantly. Adequate sleep and nutrition are your recovery allies.
Focus on the Mind-Muscle Connection
This is incredibly important for isolation exercises like the chest fly. Instead of just moving the weight, actively think about squeezing and stretching your chest muscles. Feel the contraction, visualize the muscle working. This heightened awareness helps recruit more muscle fibers and makes your workouts more effective. It’s about quality contractions, not just swinging weight around.
Be Patient and Persistent
Fitness is a journey, not a sprint. Results don’t happen overnight. There will be days when you feel strong, and days when you feel weak. Embrace the process, celebrate small victories, and don’t get discouraged by temporary plateaus. Consistency, showing up and putting in the work, even when you don’t feel like it, is what truly builds lasting results.
Make it a Habit
Integrate your workouts into your weekly routine as non-negotiable appointments. Treat them with the same importance as work meetings or other commitments. Over time, exercising will become a natural and enjoyable part of your lifestyle. Find a time that works best for you and stick to it. The more consistent you are, the easier it becomes to maintain